
This post contains affiliate links. If you buy through them, DumbSwitches may earn a commission at no extra cost to you. See our full disclosure.
The Ring Doorbell 2 was discontinued in 2020, but millions of them are still running on front doors – and if you just got one used or inherited one from a friend, setup is entirely straightforward. Here’s exactly how to do it.
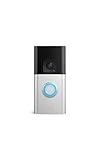
Quick note: if you haven’t physically mounted the unit yet, start with the installation guide first. This guide assumes the doorbell is on the wall and you’re ready to connect it to the app.
What You Need Before You Start
- iPhone or Android phone
- Ring app (free, available on App Store and Google Play)
- A Ring account (free to create in the app)
- Your home Wi-Fi password
- The battery charged – or the doorbell wired to your existing doorbell wiring
How to Set Up Ring Doorbell 2 in the App
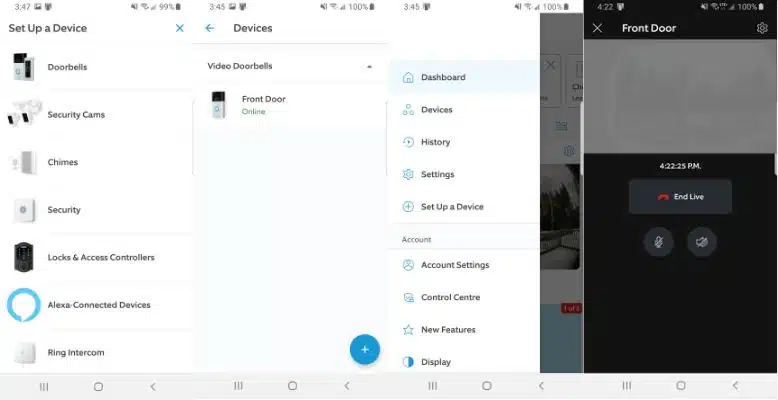
The Ring app walks you through the whole process. Follow these steps in order and you’ll be done in about 10 minutes.
Setting Up Key Features After the Initial Setup
Once the doorbell is connected, spend five minutes configuring these settings. They’re what make the difference between a doorbell that works and one that works for you.
Check Your Wi-Fi Signal Strength
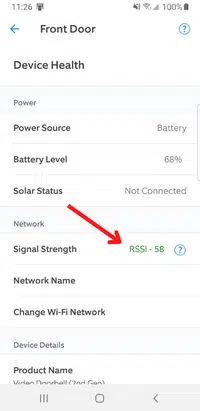
A weak signal causes delayed notifications and choppy live video. Check it before you walk away: go to the device in the app, tap Device Health, and look at Wi-Fi Signal Strength. Anything in the green (RSSI below -60) is fine. If it’s red, you’re either too far from your router or something is interfering – consider a Ring Battery Doorbell Plus if you’re upgrading, as it supports dual-band Wi-Fi (the Doorbell 2 is 2.4GHz only). For signal issues, here’s the full Wi-Fi troubleshooting guide.
Configure Motion Detection
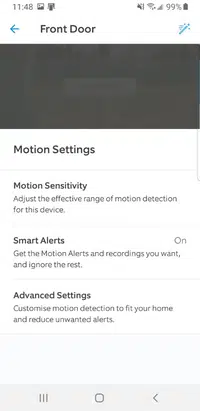
The default motion settings will alert you every time a car drives past, which gets old fast. Go to your device in the app, tap Motion Settings, and do two things: draw a motion zone that covers your path and porch but not the street, and dial back the sensitivity if you’re getting too many phantom alerts.
There’s a full breakdown of the options in the Ring Doorbell 2 motion detection guide if you want to go deeper.
Set Up Your Chime
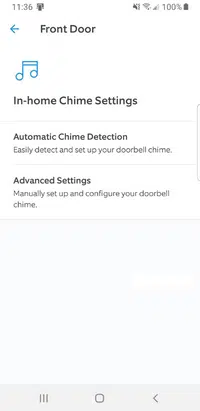
If you have a Ring Chime or Chime Pro, set it up separately in the app and it’ll automatically link to your doorbell. Go to the Chime device in the app, tap Chime Tones to pick a ringtone, and you’re set. You can also read more about Ring Doorbell 2 chime options here.
If you’re using your existing wired doorbell chime (mechanical or digital), the Ring app will walk you through configuring it during setup – just make sure your transformer is rated for at least 8-24V AC.
Adjust Volume Settings
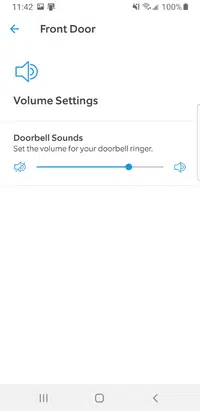
The doorbell’s built-in speaker and microphone volume are both adjustable. In the app: Device Settings > General Settings > Volume. There’s a separate slider for the doorbell speaker (what visitors hear when you talk) and the microphone pickup. Start both around 75% and adjust from there.
Share Access with Other Users
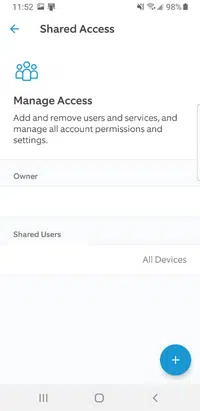
To give a partner or housemate access, go to Account > Shared Users > Add User and enter their email. They’ll get an invite and can add the doorbell to their own Ring app. They need their own Ring account – both of you log in with your own credentials, not the same one.
For multiple phones using the same account (like a shared family login), just install the Ring app on each phone and sign in with the same credentials. The doorbell appears automatically.
Troubleshooting Setup Problems
- Doorbell won’t enter setup mode – Make sure the battery has some charge. Press and release the black front button (not the orange button on the back, which is for factory reset). If the light doesn’t spin, try holding the front button for 10 seconds.
- Can’t connect to Ring’s temporary wifi network – This happens most on Android. Go to your phone’s Wi-Fi settings manually, find the Ring-XXXXXX network, and connect. Then switch back to the Ring app.
- Setup keeps failing at the Wi-Fi step – The Doorbell 2 is 2.4GHz only. If your router broadcasts separate 2.4 and 5GHz networks with different names, make sure you’re selecting the 2.4GHz one. Also confirm your Wi-Fi password has no special characters that could be misread.
- Stuck on a firmware update for more than 10 minutes – Leave it. Ring’s firmware updates occasionally take longer than expected. If it’s still stuck after 20 minutes, pull the battery, reinsert it, and try setup again.
- Doorbell was previously owned and won’t add to your account – The previous owner needs to go into their Ring account and remove the device under Account > Shared Users > Owned Devices. Ring has a process for this if the original owner is unreachable.
For persistent connection issues, the full Wi-Fi troubleshooting guide covers the common failure modes in detail. If the doorbell needs a factory reset, see how to reset the Ring Doorbell 2.
What to Explore Next
Once setup is done, here are the features worth digging into:
- Live view – open a real-time video feed from anywhere
- Night vision – what to expect after dark and how to optimize it
- Two-way talk – talking to visitors (and delivery drivers) remotely
- Recording and video history – what gets saved and what requires a Ring Protect subscription
- Battery maintenance – how long it lasts and when to recharge
If you’re thinking about upgrading from the Doorbell 2, the Ring Battery Doorbell Plus is the closest current equivalent – it adds 1536p resolution, head-to-toe video framing, and dual-band Wi-Fi. Setup process is essentially identical to what you just did.