Quick correction before we get into this: a Raspberry Pi running Homebridge is not the same thing as an Apple HomeKit hub. The title on this page implies otherwise, so let’s fix that up front.

What you’re actually building here is a Homebridge server – software that bridges non-native HomeKit devices (think Nest, Ring, TP-Link, Tuya) into the Apple Home app. It’s genuinely useful. It’s just a different thing than a hub, and confusing the two will cause problems when you wonder why remote access isn’t working.
If you want the full picture – what Homebridge does, what it doesn’t do, and step-by-step setup on a Raspberry Pi – read on.
What a Homebridge Server Does (and Doesn’t Do)
Homebridge is open-source Node.js software that emulates the HomeKit Accessory Protocol. It sits on your local network and acts as a translator: devices that Apple never certified for HomeKit get proxied through Homebridge and show up in the Home app as if they’re native.
You install plugins for each device – there are thousands of community-built plugins covering most major brands. Once a plugin is configured, that device appears in your Home app alongside any official HomeKit gear you already have.
What Homebridge does not do:
- Enable remote access to your devices when you’re away from home
- Run time-based automations or presence-triggered automations
- Act as a Thread border router or Matter controller
- Handle HomeKit Secure Video processing
All of those things require an actual Apple home hub. Homebridge is a device bridge. It extends what’s visible in HomeKit; it doesn’t replace the hub layer.
What You Still Need: An Apple Home Hub
Apple’s official home hub devices are:
- HomePod mini – $99, the most cost-effective option for most setups
- HomePod (2nd gen) – $299, better audio, same hub functionality
- Apple TV 4K – doubles as a streaming device and home hub
One of these has to be sitting on your network, always on, for remote access and automations to work – even for devices you’ve bridged through Homebridge. The hub is what allows HomeKit to run automations when you leave the house, or lets you check your cameras from another country.
The HomePod mini is the obvious starting point if you don’t already have an Apple TV. At $99 it unlocks remote access, automations, HomeKit Secure Video, Matter, and Thread. If you’re only buying it to be a hub, that’s the one to get.
So the full setup is: Homebridge on RPi (device bridge) + HomePod mini or Apple TV (hub). Both. Not either/or.
Step-by-Step: Homebridge on a Raspberry Pi
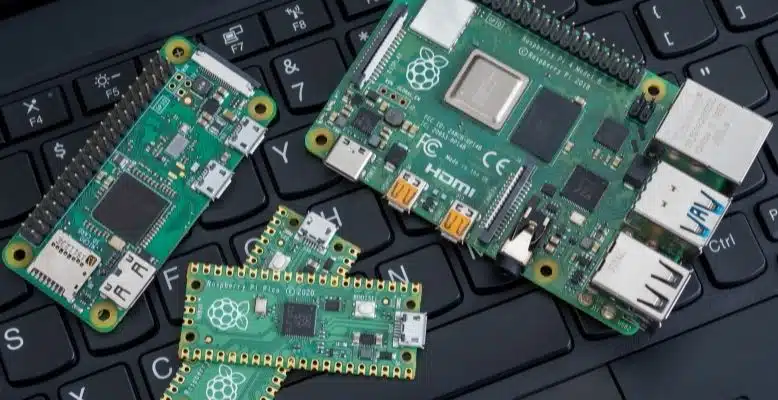
The easiest method uses the official Homebridge Raspberry Pi image via the Raspberry Pi Imager. You’ll need a Raspberry Pi 4 Model B (recommended – handles multiple plugins without breaking a sweat), a microSD card (16GB+), and a power supply.
Download and install the Raspberry Pi Imager
Download the free Raspberry Pi Imager from https://www.raspberrypi.com/software/ and install it on your computer.
Flash the Homebridge image to your SD card
Insert your microSD card. Open the Imager, click Choose OS, then scroll to Other Specific-Purpose OS and select Homebridge. Choose the 64-bit image (compatible with Pi 3B+, 4, 5, and Zero 2 W). Select your storage device and click Write.
Boot the Pi and connect to your network
Insert the SD card into the Pi and power it on. Homebridge will boot and connect to your Wi-Fi automatically if you configured Wi-Fi in the Imager’s advanced settings. If not, plug in via ethernet first.
Open the Homebridge UI
From a browser on the same network, go to http://homebridge.local:8581 – Default login is admin / admin. Change the password immediately after first login via the user account menu (three dots, top right).
Add Homebridge to the Home app
Open the Apple Home app on your iPhone or iPad. Tap the + icon, then Add Accessory. Scan the QR code displayed on the Homebridge UI screen. Homebridge will appear as a bridge accessory in your Home app.
Install plugins for your devices
In the Homebridge UI, go to the Plugins tab and search for the device you want to bridge – for example, homebridge-tuya, homebridge-ring, or homebridge-nest. Install the plugin, configure the required settings (device credentials, IP addresses, etc.), then click Restart. The device will show up in the Home app within a minute or two.
RPi vs a Dedicated Homebridge Device: Which Is Better?
A Raspberry Pi is the most flexible option – you can run Homebridge alongside other services on the same hardware. If you’re already using a Pi for anything else, adding Homebridge is essentially free.
The tradeoff is uptime. A Pi running off a microSD card will fail eventually, and when it does, all your bridged devices go unresponsive until you restore it. If you want something more appliance-like, the Homebridge community maintains a list of certified hardware – compact plug-in devices purpose-built to run Homebridge 24/7 with better reliability than a general-purpose Pi setup.
For most people starting out, a Pi 4 is the right call. It’s cheap, it works, and the community support is enormous. Just run it off a good-quality SD card or boot from USB for better longevity.
One more thing worth knowing: Homebridge must stay running at all times. If the Pi loses power or reboots, your bridged devices will show as unresponsive in the Home app until it comes back up. A UPS (uninterruptible power supply) is a worthwhile $20-30 investment if you’re relying on any automations.
Related Guides
- Home Assistant on Raspberry Pi – if you want a more powerful open-source platform that isn’t tied to Apple’s ecosystem at all
- Raspberry Pi Camera with HomeKit – adding camera feeds through Homebridge
- HomeKit bridge options – overview of bridging solutions beyond Homebridge