Have you been on the hunt for a way to DIY your own security camera that’s a breeze to set up and won’t break the bank? ‘Cause let’s be honest, ain’t nobody got time for complicated tech, am I right? Especially when it comes to keeping our homes safe.
Look no further ’cause I’ve got the hookup for a Homekit-compatible camera that’ll make you feel like a tech genius without the hefty price tag.
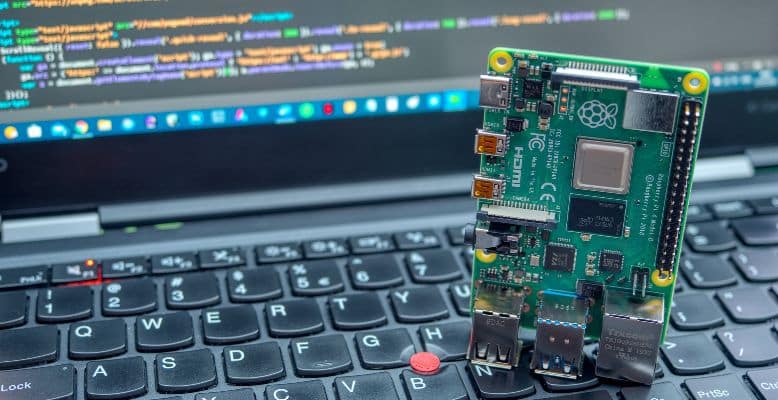
A Raspberry Pi Homekit setup for your camera might be the answer.
Here's what we cover:
What You Will Need
- Raspberry Pi. I would recommend this one and get this case to go with it.
- Raspberry Pi camera module. This is the one I would recommend because it comes with the case.
- Power supply.
- 16GB micro SD card.
Step 1 – Installing The Raspberry Pi Camera Module
Installing the camera module to the Raspberry Pi is very simple. The camera module has a ribbon cable that connects to the camera. Simply plug the ribbon cable into the slot on Raspberry Pi that is the same size as the cable input.
Be sure to lock the cable in place by pressing the little black clip on the end of the input.
Step 2 – Open Your Computer And Install Etcher
Etcher is a free software program that allows you to write OS image files to the micro SD card. You can download it at https://www.balena.io/etcher/.
Download and install it on your computer.
Step 3 – Use Etcher To Write Homekit Camera Image To The SD Card
First, you will need to download the Homekit camera image file at https://photos5.appleinsider.com/ai-homekit-camera.dmg
Once the image is downloaded:
- Insert the micro SD card into your computer.
- Open Etcher.
- Click Select Image
- Select the image you just downloaded.
- Click Select Device to select the micro SD card.
- Click Flash! to write the image to the card.
*Note – make sure this is a micro SD card that does not have anything else on it that you want to keep. This process will erase everything on the card before it installs the image file.
Step 4 – Setup And Configure The Pi
Connect the Raspberry Pi to a monitor and keyboard. (optional) Plug in the power adapter. Insert the micro SD card into the Pi.
Open a terminal and type the following to set up the Pi
./get-started.sh
You will be prompted with several different configuration settings to set up. The following is what I would choose and would probably work for your setup as well:
Do you want to configure wifi? [Y/N] - Y
What is the network name (SSID) - use the name of your wifi network
What is the network password - use your wifi network password
The default login password needs to be changed.
Changing password for pi.
(current) UNIX password: raspberry
Enter new UNIX password: whatever you want it to be.
Retype new UNIX password: retype your chosen password.
Once the password is set up, the Pi will generate a new randomly generated Homebridge PIN. You will want to make a note of this PIN number.
Reboot the Pi by pressing any key after it prompts you for a reboot.
Step 5 – Add The Accessory To Homekit
Now that your Raspberry Pi has rebooted, it should be connected to your wifi network and ready to be added to Homekit.
Open your Homekit app and click the plus sign in the top right-hand corner.
- Tap Add Accessory.
- Tap Manually Enter Code.
- Enter your Homebridge code.
- Repeat the first three steps but in step 3, enter the Pi camera’s code.
Your camera should not be working, and you should see it in your cameras section in Homekit.
Looking for video instructions? Here is a helpful video that goes through all these steps.
What Can I Use This For?
This camera setup might not have a fancy motion detector, but it has some pretty sweet options. If you’re worried about keeping an eye on who’s coming and going from your pad, this camera’s got you covered. You can also watch your furry friends while you’re out and about.
And if you’re a new parent, this baby monitor will stream video straight to your phone, so you can keep an eye on your little one from anywhere.
But that’s not all, my friend. This camera setup can also help you watch different angles in the same room. Like, say you’ve got one camera with motion detection that sends you notifications.
Still, you want to see what’s happening from other angles. These cameras will help you see everything, so you’ll know exactly what’s happening.
Conclusion
For under 150 bucks, you can set up this camera like a boss. Not only can you hook it up to your security system for some extra peace of mind, but you can also connect it to your TV if it’s got Apple TV capabilities. The possibilities are endless with this bad boy, so get creative and see what you can come up with.
Plus, it’s a fun project if you’re new to the Raspberry Pi game. And if you’re a pro, it’s a rad opportunity to experiment. Either way, have a blast!
