
This post contains affiliate links. If you buy through them, DumbSwitches may earn a commission at no extra cost to you. See our full disclosure.
You can set up ecobee geofencing through the ecobee app directly, or through HomeKit automations – and the HomeKit route is the better one if you have multiple people in the house. Here’s how both work, and why you’d choose one over the other.
Two Ways to Geofence an Ecobee
Ecobee has its own built-in geofencing in the ecobee app. It tracks your phone’s location and switches the thermostat between Home and Away modes when you cross the radius boundary. Simple, works without HomeKit.
The problem: ecobee’s native geofencing is a single-user setup. Only the phone enrolled in the ecobee account controls the trigger. If your partner gets home first, the thermostat stays in Away mode until the account holder arrives.
HomeKit solves this. The Home app lets you set “When Anyone Arrives” and “When Last Person Leaves” triggers – so the heat turns on when the first person gets home, and goes off only when the last person leaves. That’s the setup worth doing.
| Native ecobee app | HomeKit automation | |
|---|---|---|
| Multi-user households | No – only the account holder’s phone triggers it | Yes – “Anyone Arrives” and “Last Person Leaves” cover the whole household |
| Setup time | About 5 minutes | 15-20 minutes – hub setup, inviting each person, building two automations |
| Adjustable radius | Yes, set it in the app | Only if you swap the default Home location for a custom address – which drops the multi-user logic back to single-person |
| Needs a HomeKit hub | No | Yes – Apple TV, HomePod, HomePod mini, or a dedicated iPad |
| Runs in the background | Yes | Yes, but needs both Location Services and Share My Location turned on for every invited person |
What You Need Before You Start
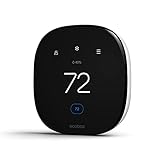
- An ecobee thermostat – any current model works. The ecobee Smart Thermostat Enhanced is the sweet spot at around $189. If you want the air quality monitor and built-in Siri, step up to the Smart Thermostat Premium. The budget pick is the Smart Thermostat Essential (~$130), which replaced the discontinued ecobee3 Lite.
- A HomeKit home hub – Apple TV 4K, HomePod, HomePod mini, or a dedicated iPad. This stays at home and handles automations. Without it, location-based HomeKit automations won’t run.
- iPhones for each household member with Location Services enabled for the Home app.
The ecobee itself does NOT need to be paired with HomeKit before geofencing works in the ecobee app – but it does need to be paired for the HomeKit automation method. More on that below.
Method 1: Native Ecobee App Geofencing
This is the quick version. Good for single-person households or anyone who doesn’t have a HomeKit hub.
Open the ecobee app and tap the Menu icon
That’s the three lines in the top left. Make sure you’re logged in and your thermostat shows as connected.
Go to Account, then Family Settings
Tap Account in the menu, then select Family Settings. This is where ecobee manages location-based features.
Toggle Geofencing on
Hit the switch next to Geofencing. The app will prompt you to grant location access if it hasn’t already – choose Always to make sure it works in the background.
Set your geofence radius
A smaller radius (say, 500 feet) means the thermostat reacts when you’re close to home. A larger one gives it more lead time to start heating or cooling. Most people do fine with the default.
Add other household members (optional)
Each person needs to be added to your ecobee family and have location services enabled on their phone. Note: ecobee’s native multi-user geofencing is limited – for proper household logic, the HomeKit method below is more reliable.
Method 2: HomeKit Geofencing (The Better Way)
This is the setup worth doing if you have a HomeKit hub already. You’re using Apple’s Home app to run “Someone Arrives / Someone Leaves” automations that trigger ecobee scenes. The multi-user logic is built in and it’s rock solid.
Pair your ecobee to HomeKit
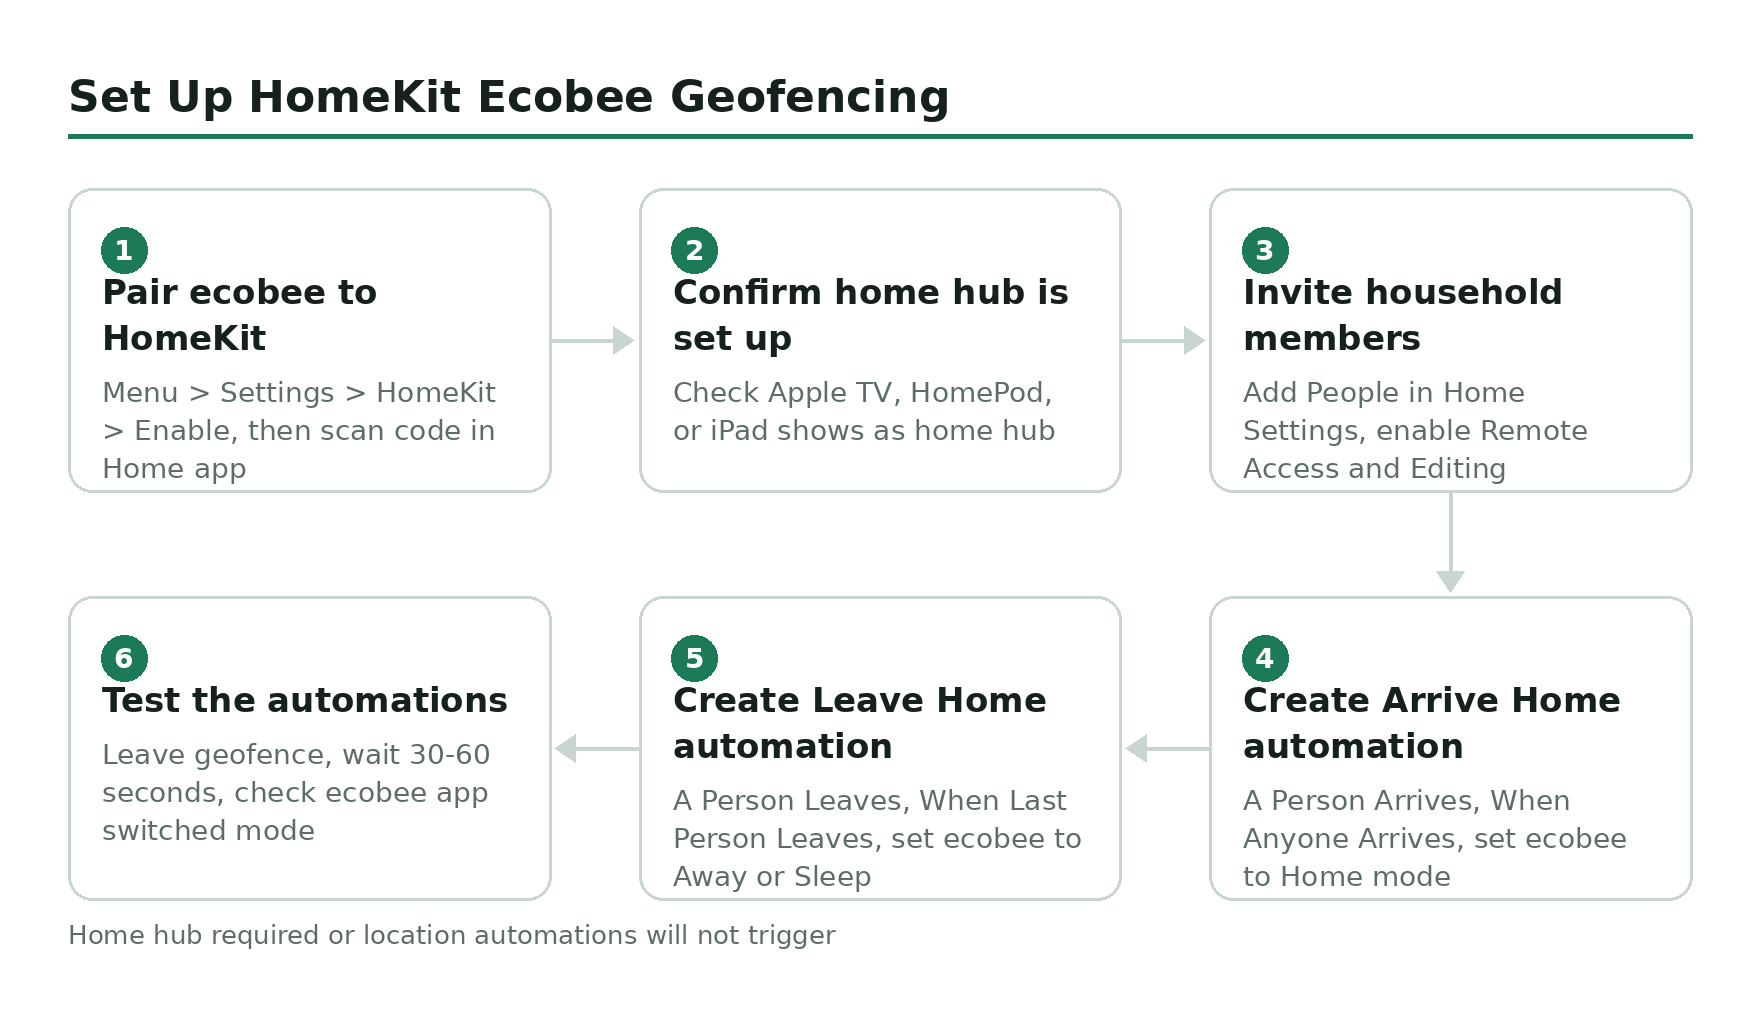
On the ecobee itself, go to Main Menu > Settings > HomeKit > Enable HomeKit. Then open the Home app on your iPhone, tap the + icon, choose Add Accessory, and scan the HomeKit code shown on your ecobee screen. Follow the prompts.
Confirm your home hub is set up
In the Home app, go to Home Settings and check that your Apple TV, HomePod, or dedicated iPad shows as a home hub. Without this, location automations won’t trigger.
Invite household members to your Home
In Home Settings, select People and invite each family member. Enable Allow Remote Access and Allow Editing for each person. They need the Home app on their iPhone with Location Services on.
Create the Arrive Home automation
Open the Automation tab in the Home app. Tap the + icon, choose A Person Arrives, and set it to When Anyone Arrives. Then select your ecobee and set it to Home mode (or whatever comfort profile you use for when someone is home). Save it.
Create the Leave Home automation
Repeat the process – tap +, choose A Person Leaves, and set it to When The Last Person Leaves. Set the ecobee to Away or Sleep mode. This is the key setting that makes sure it doesn’t switch to Away while someone is still home napping on the couch.
Test it
Walk out of your geofence radius (or toggle airplane mode briefly as a shortcut test). Give the automation 30-60 seconds to trigger. Check the ecobee app to confirm the comfort profile switched. If it does not fire, verify Location Services for the Home app is set to Always in your iPhone privacy settings.
Common Issues and Fixes
Automations fire inconsistently: The most common cause is Location Services not set to “Always” for the Home app. Go to Settings > Privacy & Security > Location Services > Home and make sure it’s set to Always, not While Using. Each invited person also needs Share My Location turned on – go to Settings > [your name] > Find My > Share My Location and confirm it’s enabled, since a location automation silently fails to fire for anyone who has it off.
Away mode triggers while someone is still home: You set the Leave automation to trigger when “Anyone Leaves” instead of “Last Person Leaves.” Go back into the automation and change the trigger.
Geofence feels too close or too far: HomeKit’s radius around your default Home location is fixed and not user-adjustable. You can trade for an adjustable radius by pointing the automation’s Location trigger at a typed address instead of Home – the catch is that a custom-location trigger only recognizes the phone that set it up, so you lose the “Anyone Arrives / Last Person Leaves” household logic in exchange. The ecobee app’s native geofencing keeps its adjustable radius either way, if that tradeoff matters more to you than multi-user support.
Automations work on your phone but not your partner’s: Each household member needs to be in the Home (as an invited person with remote access), have the Home app installed, and have both Location Services and Share My Location enabled for their device.
Which Method Should You Use?
If it’s just you – ecobee’s native geofencing is fine and takes five minutes to set up. If you share the house with anyone else, use the HomeKit method. The “Last Person Leaves” logic alone makes it worth the extra setup time.
Either way, the thermostat doing this automatically instead of you remembering to switch modes every time you leave is genuinely useful – which is a low bar, but ecobee clears it easily.
Related Guides
- HomeKit compatible devices: the full 2026 list – thermostats, including Ecobee3 Lite and the Honeywell T9, alongside every other device category.
- Does Google Nest Work With Apple HomeKit?