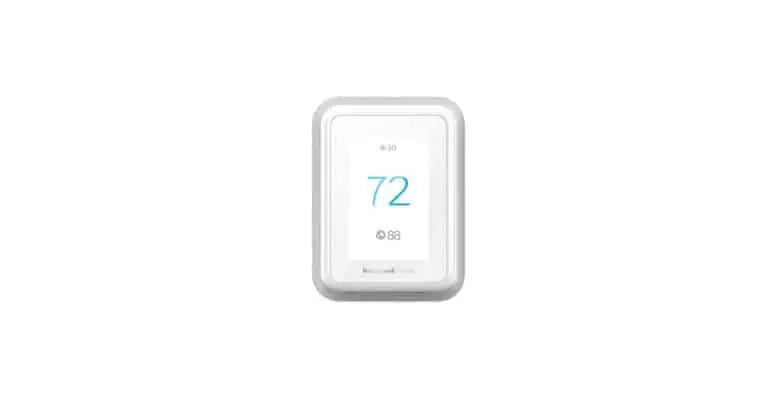
Short answer: yes, the Honeywell Home T9 supports Apple HomeKit – but it wasn’t always that way. When it launched in 2019, the T9 shipped without HomeKit support despite Resideo promising it. Native HomeKit compatibility finally arrived via a firmware update in late 2021. If your T9 is on current firmware, it works with the Apple Home app out of the box.
One quick note on branding: the thermostat is sold under the “Honeywell Home” name, but it’s made by Resideo – a company that spun off from Honeywell back in 2018 and licenses the Honeywell Home name for residential products. Same product, just a different company behind it now.
Honeywell T9 Smart Home Support
The T9 covers all three major voice assistants. It works natively with Amazon Alexa, Google Home, and Apple HomeKit. You control it through the Honeywell Home app (iOS and Android), and from there you can also hand off control to whichever smart home platform you prefer.
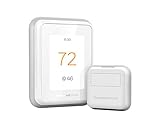
The T9’s standout feature is its Smart Room Sensor support. You can add wireless sensors to individual rooms, and the thermostat prioritizes heating or cooling based on occupancy and temperature in the rooms that are actually being used. That’s still one of the more practical sensor implementations in this price range.
It also supports IFTTT for more granular automations if you want to go that route. The Honeywell Home T9 is available on Amazon and is still actively sold as of 2026.
How to Set Up the Honeywell T9 With Apple HomeKit
The setup uses a QR code on the thermostat itself – no pairing code hunting required. Here’s how it works:
Update the thermostat firmware
Open the Honeywell Home app and make sure your T9 is on the latest firmware. HomeKit support requires a firmware version from late 2021 or newer. The app will prompt you if an update is available.
Open the HomeKit menu on the thermostat
On the T9 touchscreen, tap the Menu icon at the bottom of the home screen. Scroll down and select “Connect HomeKit”. The thermostat will display a QR code.
Add the accessory in the Apple Home app
Open the Home app on your iPhone or iPad. Tap the “+” icon and select “Add Accessory”. Point your phone camera at the QR code displayed on the thermostat.
Follow the on-screen prompts
The Home app will walk you through assigning the thermostat to a room and naming it. Once complete, you can control the T9 through Siri, the Home app, or any HomeKit automation you set up.
HomeKit Thermostat Alternatives Worth Considering
If you’re still shopping and HomeKit support is a hard requirement, ecobee is the safe pick. The ecobee Smart Thermostat Enhanced has supported HomeKit since 2015 – it was actually the first smart thermostat to get HomeKit certification. The current lineup (SmartThermostat Enhanced, SmartThermostat Premium) all support HomeKit natively, plus Alexa and Google Home.
The main practical difference: ecobee’s HomeKit track record is longer and more consistent. The T9’s HomeKit support arrived years late and wasn’t available to early buyers at all. If you already own a T9 on current firmware, it works fine. If you’re buying new specifically for HomeKit, ecobee removes that uncertainty.
One more option if you already own a non-HomeKit Honeywell thermostat: the homebridge-resideo plugin for Homebridge gives you HomeKit control over most Honeywell Home thermostats, including older models that don’t support it natively. It’s actively maintained and available on npm. The tradeoff is that Homebridge requires a always-on hub (a Raspberry Pi or old Mac mini works), so it’s a project rather than a plug-and-play solution.