iotty smart switches do not support Apple HomeKit natively. They work with Alexa and Google Home out of the box, but if you want HomeKit, you need Homebridge as a middleware layer. That’s not a dealbreaker, but it’s worth knowing before you buy.
What Is iotty?
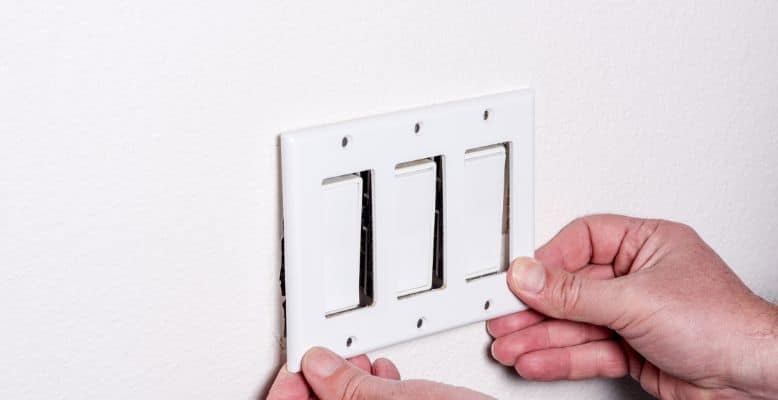
iotty is an Italian smart switch brand that has been around since 2017. Their switches are genuinely good-looking – flush glass face, touch controls, customizable backlighting – and they’ve built a US storefront at iottysmarthome.com with a lineup that includes 1, 2, 3, and 4-gang switch controllers plus an add-on dimmer module ($27).
US availability has been limited – the brand is still building out North American inventory – but products are available to order directly from their site and through Amazon. The European E1/E2 Plus models have been available longer and have more third-party reviews.
Voice control works natively with Alexa and Google Assistant. HomeKit is a different story.
How iotty + HomeKit Works (Via Homebridge)
iotty does not have Apple HomeKit certification. That means you can’t just scan a QR code and add it to the Home app. What you can do is run Homebridge – free, open-source software that acts as a bridge between non-HomeKit devices and Apple Home. Homebridge 2.0 launched in May 2026 and now includes experimental Matter support, which gives it more longevity.
The setup takes 20-30 minutes if you’ve never done it. Once Homebridge is running, you install an iotty plugin and your switches show up in Apple Home like any certified device. See our guide on using Homebridge to add non-HomeKit devices for the broader process.
How to Add iotty to Apple HomeKit via Homebridge
1. Install Homebridge on a always-on device.
A Raspberry Pi or an old Mac Mini work well. Download and install from homebridge.io – there are installers for Raspberry Pi, macOS, Windows, and Linux.
2. Open the Homebridge dashboard.
Once installed, open your browser and navigate to the Homebridge UI (usually http://homebridge.local or the IP address of your device at port 8581).
3. Go to the Plugins tab and search for iotty.
Search for “iotty” in the Plugins section. Install whichever plugin appears – it will use your iotty app credentials to connect to your devices.
4. Configure the plugin with your iotty account credentials.
Enter your iotty username and password when prompted. Give the plugin a name and save the configuration.
5. Restart Homebridge.
Click the restart button in the top-right corner of the dashboard. After restarting, your iotty devices will appear as HomeKit accessories.
6. Add the Homebridge bridge to Apple Home.
Open the Home app on your iPhone or iPad, tap the + button, and scan the Homebridge QR code shown in the dashboard. Your iotty switches will appear and can be controlled via Siri and the Home app.
Is iotty Worth It for a HomeKit Home?
Honest take: iotty is a solid switch for people who want Alexa or Google Home and don’t mind the limited US availability. The design is genuinely nice – better-looking than most of the US-market competition. But if HomeKit is your priority, you’re adding a Homebridge server to the equation, which is extra cost and one more thing to maintain.
If you want a native HomeKit switch with no Homebridge required, Lutron Caseta is the most reliable option – it uses its own RF protocol (no neutral wire needed) and has a flawless HomeKit reputation. Leviton Decora Smart is the budget pick with native HomeKit. Meross has native HomeKit switches at around $25, which is hard to argue with at that price point. All three are easier HomeKit setups than iotty.
That said, if you’re already running Homebridge for something else – or you specifically want iotty’s aesthetic – the Homebridge path works fine. It’s not fragile once it’s set up.