Have you heard about the hype with Apple Homekit? It’s the bomb! You can now boss around your house with just your voice or phone. Imagine telling Siri to turn off your lights while you’re chillin’ on the couch. Too cool, right?
Now, the real question is, can we make our iRobot vacuums do the cleaning for us with Homekit?
Here's what we cover:
Is iRobot Compatible With Apple Homekit?
Yes, you can make iRobot compatible with Homekit. However, since they are not natively compatible, you will need to use Homebridge to set it up and work properly.
What Is iRobot?
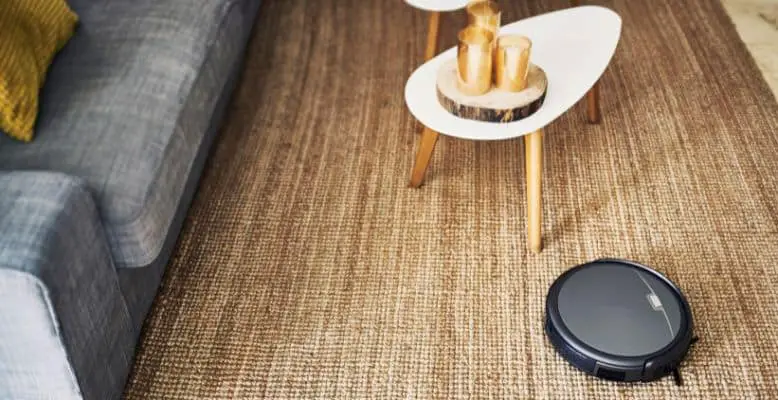
You’ve probably heard of iRobot and their super cool Roombas. These bad boys are like personal cleaning assistants who don’t need you to hold their hands. They use fancy algorithms and magnetic sensors to map a room and get to work, using a spinning brush to clean up all that dirt and debris from your floors and carpets. And don’t worry about them getting tired. These vacuums have a self-charging feature to keep cleaning even if the power goes out.
These Roombas can handle all types of flooring, and you can even set a custom cleaning schedule or route. Plus, their suction power is awe-inspiring and will get the job done in no time. And if you’re feeling lazy, you can even control them through voice commands using an app on your phone or computer. Who needs a cleaning crew when you’ve got a Roomba?
How To Add An iRobot Vacuum To Apple Homekit
If you are ready to set up Homekit with your Nest device using Homebridge, follow the instructions below:
Download Homebridge.
You can find it for free at homebridge.io.
Install and open the Homebridge software program.
Look at the menu section of the dashboard and click the “Plugins” option.
Search for the iRobot plugin.
Click the install link to install the plugin.
Configure the plugin.
This screen will automatically be displayed after it is installed. You will be asked to give it a unique name and other settings.
Restart Homebridge.
You can easily do this by clicking the restart button on the top right of the dashboard screen.
After restarting, the settings you configured will take effect automatically. You can now control your connected device with Siri or a mobile Apple device.
Alternatively, there are Homekit compatible robot vacuums you can check out here.
Conclusion
Setting up your iRobot with Homekit is a total breeze. You’ll be done in no time. Just follow the simple steps I listed above. And once you’re all set, you’ll be able to boss around your connected device like a boss with Siri shortcuts or the “Home” app on your iOS mobile device – all for free, my friend! So, why not give it a shot and impress your friends with your tech-savvy skills?